Changing your Dollfie’s eyes can make a huge difference in how she looks. There are many tutorials floating around on the web to reference which is how we learned the basics of how to do this ourselves. The tutorial we followed the most closely was one of the tutorials posted on the Volks blog for Super Dollfies. We had to modify the procedure for the Dollfie Dreams though because the inside of their head is so smooth.
So we are gonna do a quick/simple tutorial on how we change out the eyes on our dollfies (just Elle, not Saber). Materials are hyperlinked as you read through so you can see exactly what we used.
Here is Elle with her stock apricot eyes. (The default for DD Yukino)
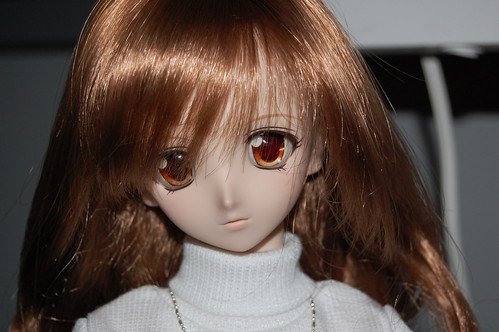
We liked those eyes but they are a little plain, so we changed them up! Here is how we did it:
First thing to do is get the head off the doll, then remove the head cap from the rear of the head. This is and will be tricky to do especially when trying not to touch the doll’s face. When removing the head be sure to grasp the neck and hold on to the armature. Remember: try not to touch the faceup!
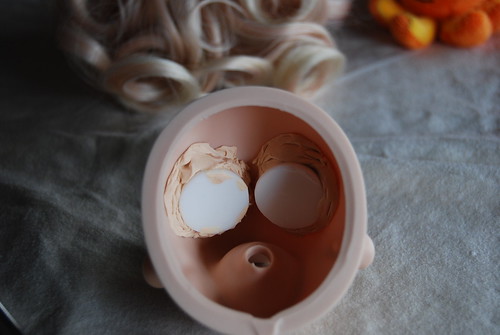
When you get the head cap off you will see something like this if it has the default eyes from Volks.
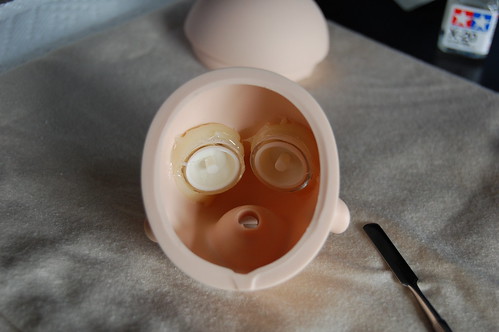
You will see that they use a low temperature hot glue so that it is pliable and sticky all the time. What I did next was very carefully (with my pinky finger) pushed the eye through the hole in front of her face, being careful not to damage the faceup. After that it looked like this:
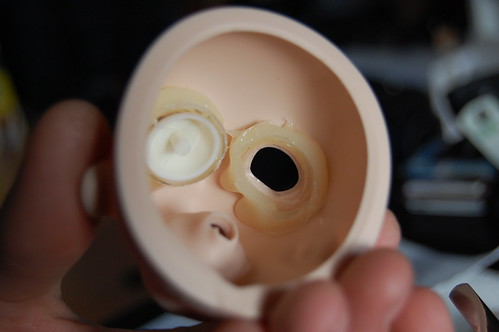
After the eyes are out you can start on the glue, Volks blog suggests using thinner for the stubborn glue (only a little) but I really didn’t want to damage the faceup, so I took my time and loosened the glue from the inside of the head very slowly. It takes time but it isn’t very difficult with the right tool.
One side done:

Both sides done:
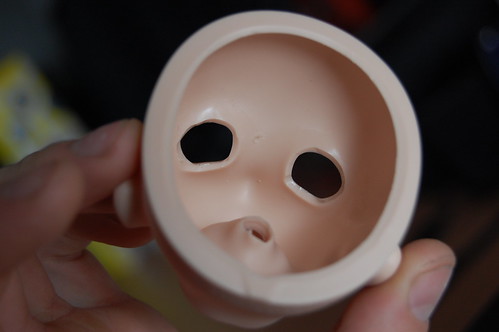
When putting the eyes back in you will have to take your time and keep checking to make sure they are in the orientation you want. I find that it is important to work the putty in your fingers for a minute or two to make it easy to work with and make it stickier. I start with a long skinny piece and wrap it around the base of the eye, then put it in the head and line it up, push the putty down and secure the eye. Then I add some putty all around the eyes to make sure they stay put. I some times use the scalpel tool to help get the putty into all the little tight areas. Extra putty under the eyes can really help though it can be tricky to get it in just right.
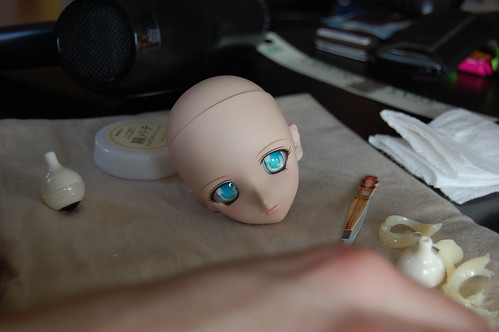
Putting in another pair of Volks eyes:

Putting in some custom eyes:
Give them a bit of a push and wiggle to make sure they are in there good, double check the orientation and you are good to pop the head cap back on. Just like that your dollfie has new eyes, here are some more pictures so you can see just what a difference they make.
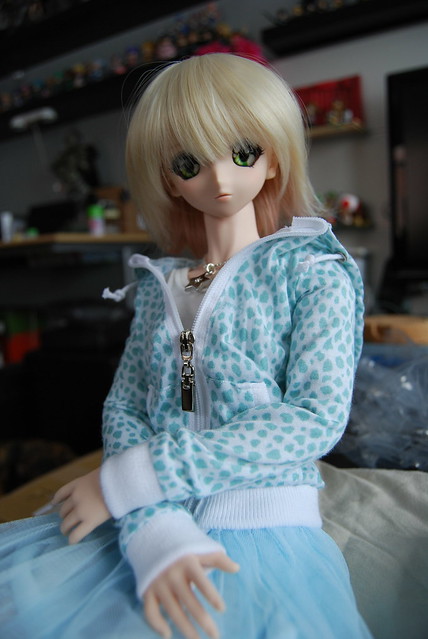
Using Volks Animetic Eyes Type I in Bright Green
Using Volks Animetic Eyes Type B in Bright Green
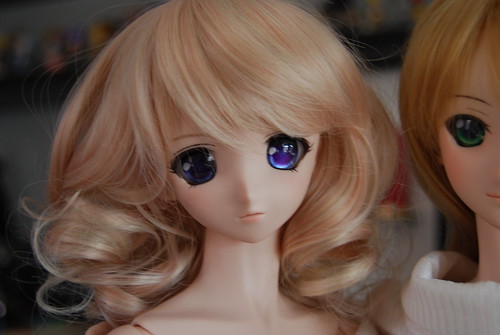
Using aftermarket custom Indigo/Purple Eyes
Do you have any advice on how to get the back headpiece on and off? I’m having trouble with it! Thanks
The easiest way to get that cap off if you’re having trouble is to heat it up! Use a hair dryer to heat up the headcap, it will make it easier to get it off. It’s also quite common for people to notch the headcaps to make them easier to remove in the future.
What DD head are you having trouble with?